


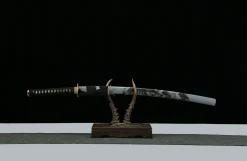
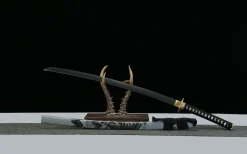


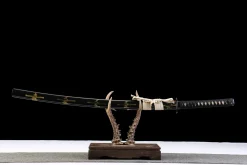


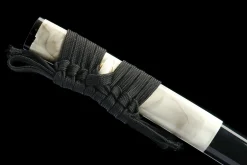
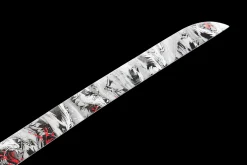
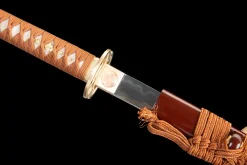
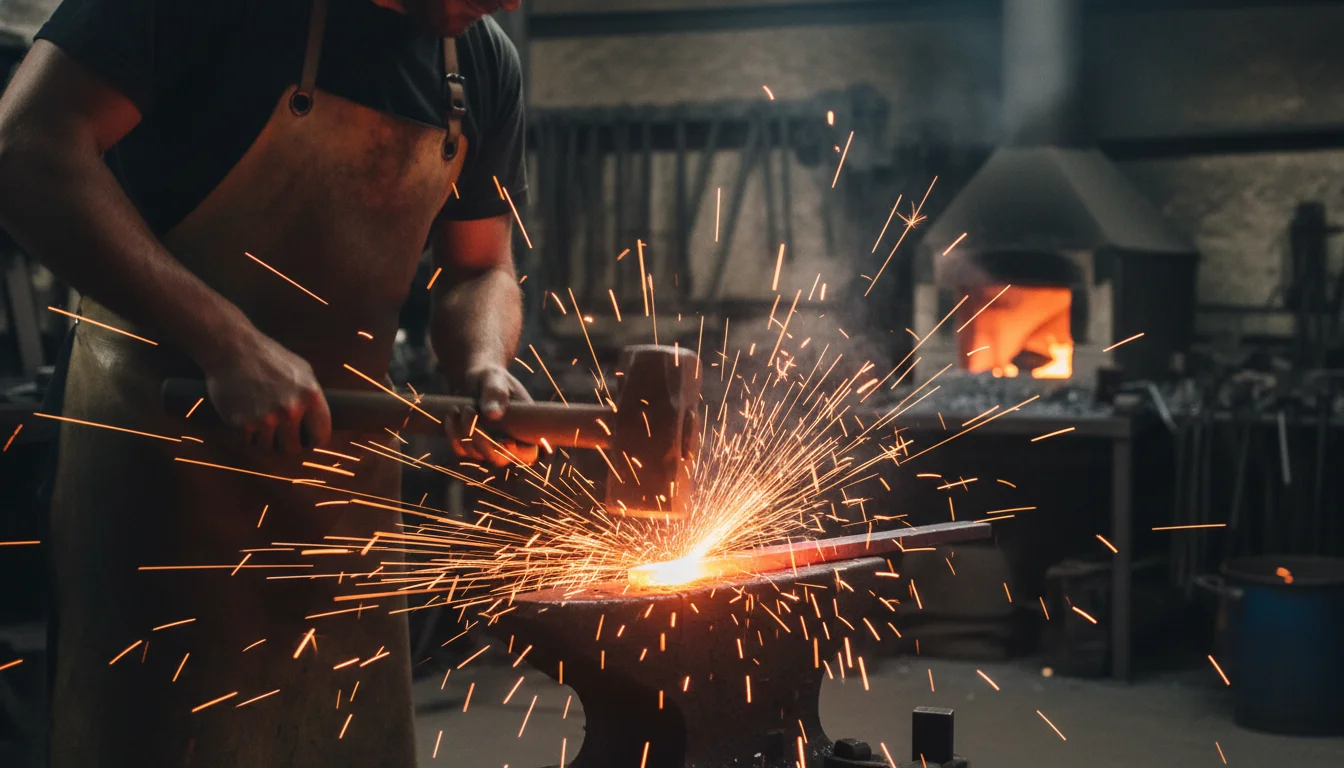
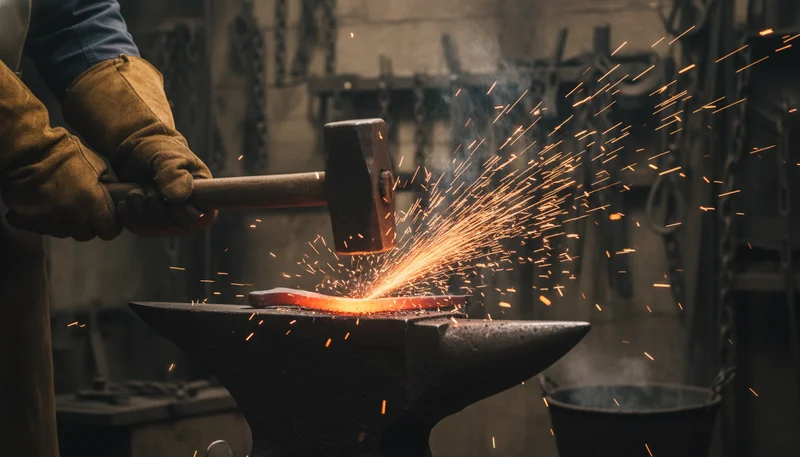
Most people who ask how a katana is made are expecting a short answer. They want to hear “steel, fire, hammer” and move on. But the katana forging process is not a short answer. From raw steel to polished blade, a properly made katana passes through dozens of hands, dozens of decisions, and at least one moment where everything can go wrong in under a second. This post walks through each of those stages, the way we actually do it here in Longquan. If you want to understand why one blade costs $230 and another costs $775, the answer lives in these steps. The forging process is decided before the first hammer falls. Steel choice determines hardness ceiling, flexibility, edge geometry, and how the blade will respond to clay tempering. Get this wrong and no amount of skill at the forge recovers it. Most of our production uses T10 high-carbon tool steel, which contains roughly 0.95-1.05% carbon plus a small percentage of tungsten. That tungsten addition matters more than most buyers realize. It refines the grain structure and improves wear resistance, which means the edge holds longer under cutting stress. T10 is our go-to for functional swords because it responds predictably to differential heat treatment. Our steel comparison guide breaks down exactly how T10 stacks up against 1060, 1075, and other common options. For more demanding builds, we work with san-mai construction, where a harder high-carbon core is wrapped in softer jacket steel. The core takes the edge, the jacket absorbs shock. One blade, two steel behaviors. Our Ink Meteor ($775) uses this san-mai approach, combining a hard cutting core with folded outer layers. That is not a marketing choice. It is a structural one, borrowed from the logic that shaped classical Japanese blades. Entry-level builds in our catalog use T8 steel, a slightly lower-carbon alloy that is easier to work and more forgiving on a tight budget. Functional for practice cutting, though the edge retention ceiling is lower than T10. The steel billet goes into the forge at temperatures between 1,100 and 1,200 degrees Celsius. At that range, high-carbon steel becomes plastic enough to move under the hammer without cracking. Go too cold and you get stress fractures. Go too hot and you burn the carbon out of the surface layer, which weakens the steel permanently. Our smiths read temperature by color. Bright orange-yellow is the working window. The steel gets struck in passes, rotated between each sequence to move material evenly. For san-mai builds, the jacket and core are forge-welded together at this stage under heavy hammer pressure, with borax flux used to keep oxidation from contaminating the weld line. For Damascus constructions, this heating stage is where the folding happens. Repeated fold-and-weld cycles multiply the layer count and redistribute carbon more evenly through the billet. Explore our Damascus steel collection to see what the finished grain pattern looks like on a completed blade. The smith hammers the rough blade shape, drawing out the length, establishing the curvature profile, and beginning to define the cross-section geometry. A katana blank at this stage looks rough. The curve is close but not final, the spine is thick, the edge is nowhere near sharp. That is correct. There is deliberate excess material in every dimension, because the next stages remove steel, not add it. Once the forged blank has cooled and been normalized, it goes to the grinder. This is where the blade geometry takes precise shape. The shinogi line, the niku (the slight convex behind the edge), the kissaki geometry, the taper from base to tip – all of it is cut in with abrasive wheels and hand files. Here is something only people who handle swords daily notice: the niku is often the first thing an experienced buyer checks. Run your thumb flat across the blade face, from shinogi down toward the ha. If there is a subtle swell of steel before the bevel drops to the edge, the grind is correct. A blade ground completely flat from shinogi to edge will cut, but it will wedge in dense material rather than slice cleanly through. Niku is not cosmetic. It is geometry doing structural work. The profile is also checked constantly against a paper template during grinding. Longquan smiths use reference templates that have been refined over generations. The curvature of a well-made katana is not arbitrary. Sori depth, kissaki length, and blade width at the monouchi all affect where and how the blade cuts most effectively. This is the step that separates a functional katana from a wall hanger. Clay tempering, called tsuchioki, is the process of coating the blade with a clay mixture before the final hardening quench. The clay insulates the areas it covers, which means those zones cool more slowly and stay softer. The exposed edge cools fast and becomes hard. The clay mixture itself varies by smith. Traditional formulations combine clay, ash, and sometimes ground stone. The ratio affects insulation properties. The application is done by hand, with the thicker coat laid along the spine and a thin coat or bare steel left along the ha. The exact boundary where thick meets thin determines the hamon line that will appear after quenching. Before the clay-coated blade goes into the fire, it must be completely dry. Any moisture trapped under that clay will flash to steam during heating and crack the blade. We dry the coated blades for hours. Rushing this step is not something that happens in our shop. The coated blade is then heated slowly and evenly to the critical transformation temperature, around 770-800 degrees Celsius for T10. At that point, the steel’s crystal structure shifts from ferrite to austenite. The blade is now ready for the quench. The blade goes from 800 degrees Celsius to room temperature in under two seconds. That is the quench. Everything built in the previous hours either survives this moment or it does not. Water quenching is more aggressive than oil. It pulls heat out faster, which produces a harder edge, a more dramatic hamon, and a greater chance of a warped or cracked blade. Our T10 builds use water quenching specifically because T10’s tungsten content gives it enough toughness to survive the thermal shock that would crack a simpler high-carbon steel. The Silent Thunder and Dark Ravine both go through water quench. That is where their hamon is born. The smith plunges the blade edge-down into the water trough, moving it slightly to prevent steam pockets from forming unevenly on the surface. Steam pockets cause soft spots. The entire process is done by feel and experience, not by timer. A smith who has quenched thousands of blades knows what a correctly hardened blade feels like when it comes out of the water. Rejection rate at this stage, even for experienced smiths, runs between 10 and 20 percent on aggressive water-quenched builds. Blades that warp beyond correction, or develop cracks, are scrapped. That cost is baked into the price of every sword that makes it through. A freshly quenched blade is too brittle to use. The martensite structure that formed during quenching is hard but fragile. Tempering relieves that internal stress without sacrificing meaningful hardness. The blade goes into a low-temperature oven, typically 150-200 degrees Celsius, for one to two hours. This allows some of the stress in the crystal structure to relax. The result for a T10 blade is a final hardness in the range of HRC 58-62 at the edge, dropping to HRC 40-45 at the spine. Hard enough to take a sharp edge and hold it. Soft enough to flex under impact rather than shatter. Tempering temperature is one of the variables that separates a well-tuned blade from an over-hardened one. Too low a temper and the blade is brittle. Too high and hardness drops to the point where the edge rolls under cutting stress. Our smiths verify final hardness with a Rockwell tester before the blade moves to polishing. Japanese-style blade polishing is not sanding. It is a progressive refinement process using a sequence of natural stones, from coarse to extremely fine, that reveals the steel’s internal structure rather than just making the surface shiny. The process typically starts with coarser synthetic stones to establish the geometry definitively, then progresses through increasingly fine natural stones. At the finest stages, the polisher uses small finger stones, called nugui, wrapped in Japanese paper, working tiny areas at a time. A full polish on a high-grade blade takes days. Our production blades receive a functional polish that correctly defines the geometry and reveals the hamon, even if it does not reach the mirror-hazuya finish of a museum piece. One thing worth knowing: a freshly polished blade will show scratches and micro-abrasions after the first few uses. That is normal. The surface is not glass. Proper ongoing care keeps the blade clean and lightly oiled. Our sword care guide covers the maintenance cycle that keeps a polished blade looking correct for years. The blade gets a handle assembly, the koshirae, only after the blade work is complete and inspected. The tang, or nakago, is fitted into the handle core, called the tsuka, which is typically made from hardwood wrapped in ray skin and then bound with silk or cotton cord in the traditional tsukamaki wrap pattern. The fit between nakago and tsuka is secured by a single bamboo or buffalo-horn peg called the mekugi. That single peg handles the full force of a cutting stroke. This surprises people, but the geometry of the fit does most of the holding work. The mekugi keeps the assembly from separating under draw and sheath cycles, not under cutting force. If the nakago fit is sloppy, no number of mekugi will fix it. The guard, or tsuba, is seated between the handle and blade collar, held in place by the compression of the assembled fittings. Our smiths check tsuba tightness before final inspection. A tsuba that rotates on the blade is not acceptable regardless of how the blade itself tests out. Every completed blade goes through a documented inspection before it ships. We check geometry against the original specification, verify that the habaki seats correctly in the saya without binding or rattling, and examine the hamon for consistency and crack absence. The spine is flexed manually, not to destruction, but enough to confirm the differential hardness is working as expected. Blades that pass go into their saya with a light coat of mineral oil on the steel. The full katana catalog reflects only blades that cleared every stage of this process. The ones that did not clear it are not in the catalog, because they are scrap. That is how a katana is made, when it is made correctly. Three to six weeks of work, multiple specialists, and at least one moment where a decade of skill means the difference between a finished sword and a piece of metal that goes back to the forge. Understanding that process is, frankly, the best preparation for choosing the right blade.
Steel Selection
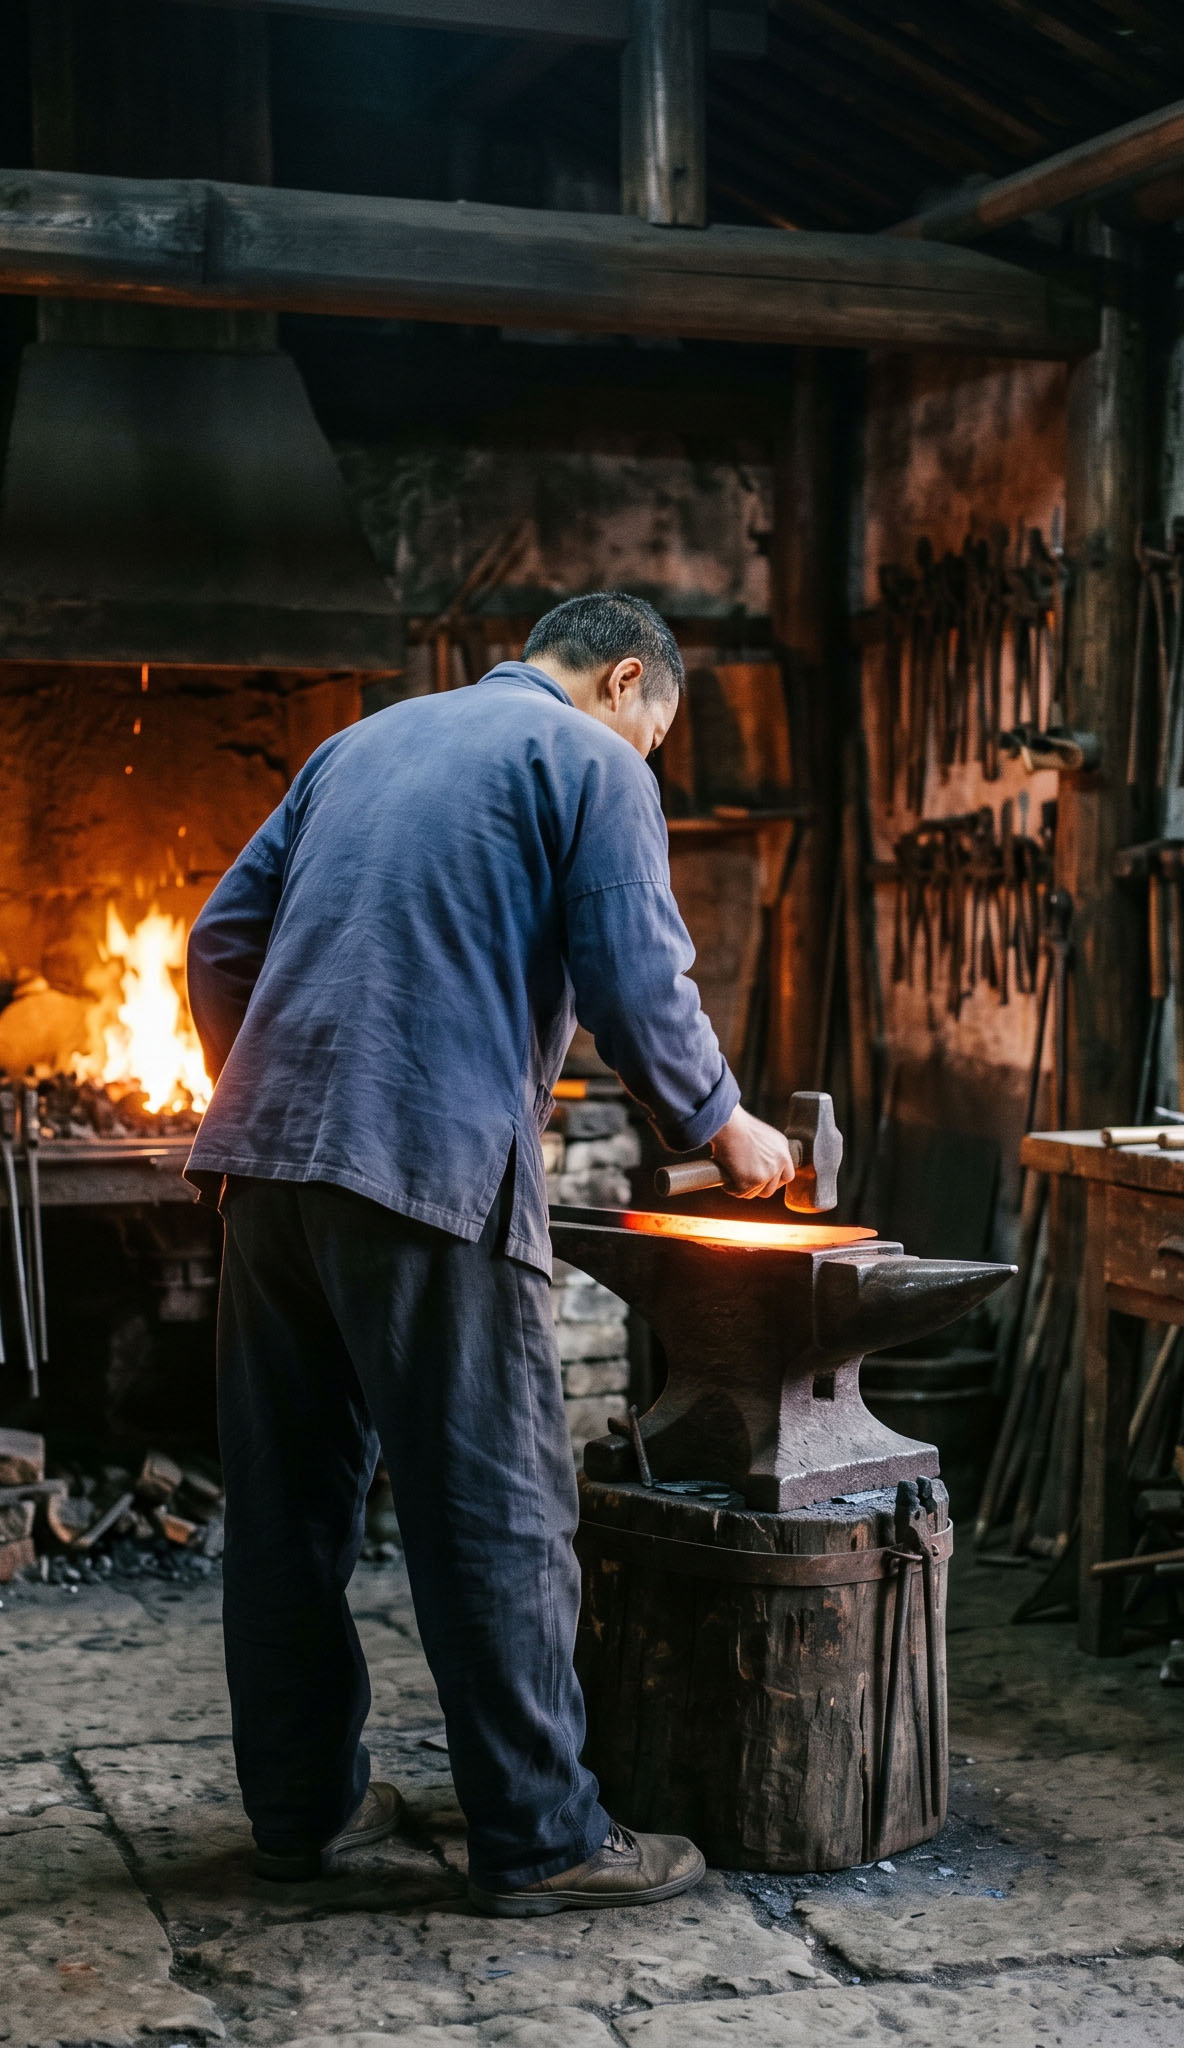
Heating and Shaping
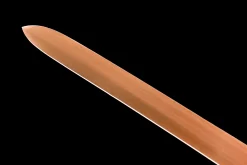
Grinding and Profiling
Clay Application and Heat Treatment
Quenching: The Moment of Truth
Tempering
Polishing
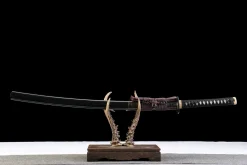
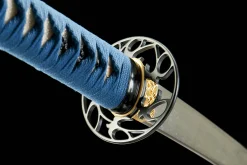
Handle Assembly
Final Inspection
Frequently Asked Questions
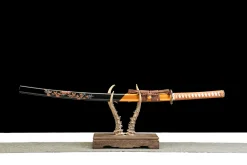
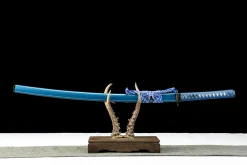
Hand-Forged Katana — Browse the Collection.
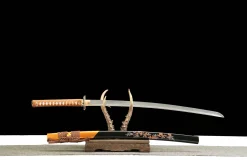
Clay-Tempered Damascus Steel Abyss Edge – Hand Forged Clay-Tempered Damascus Steel Katana Sword