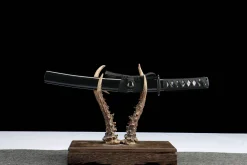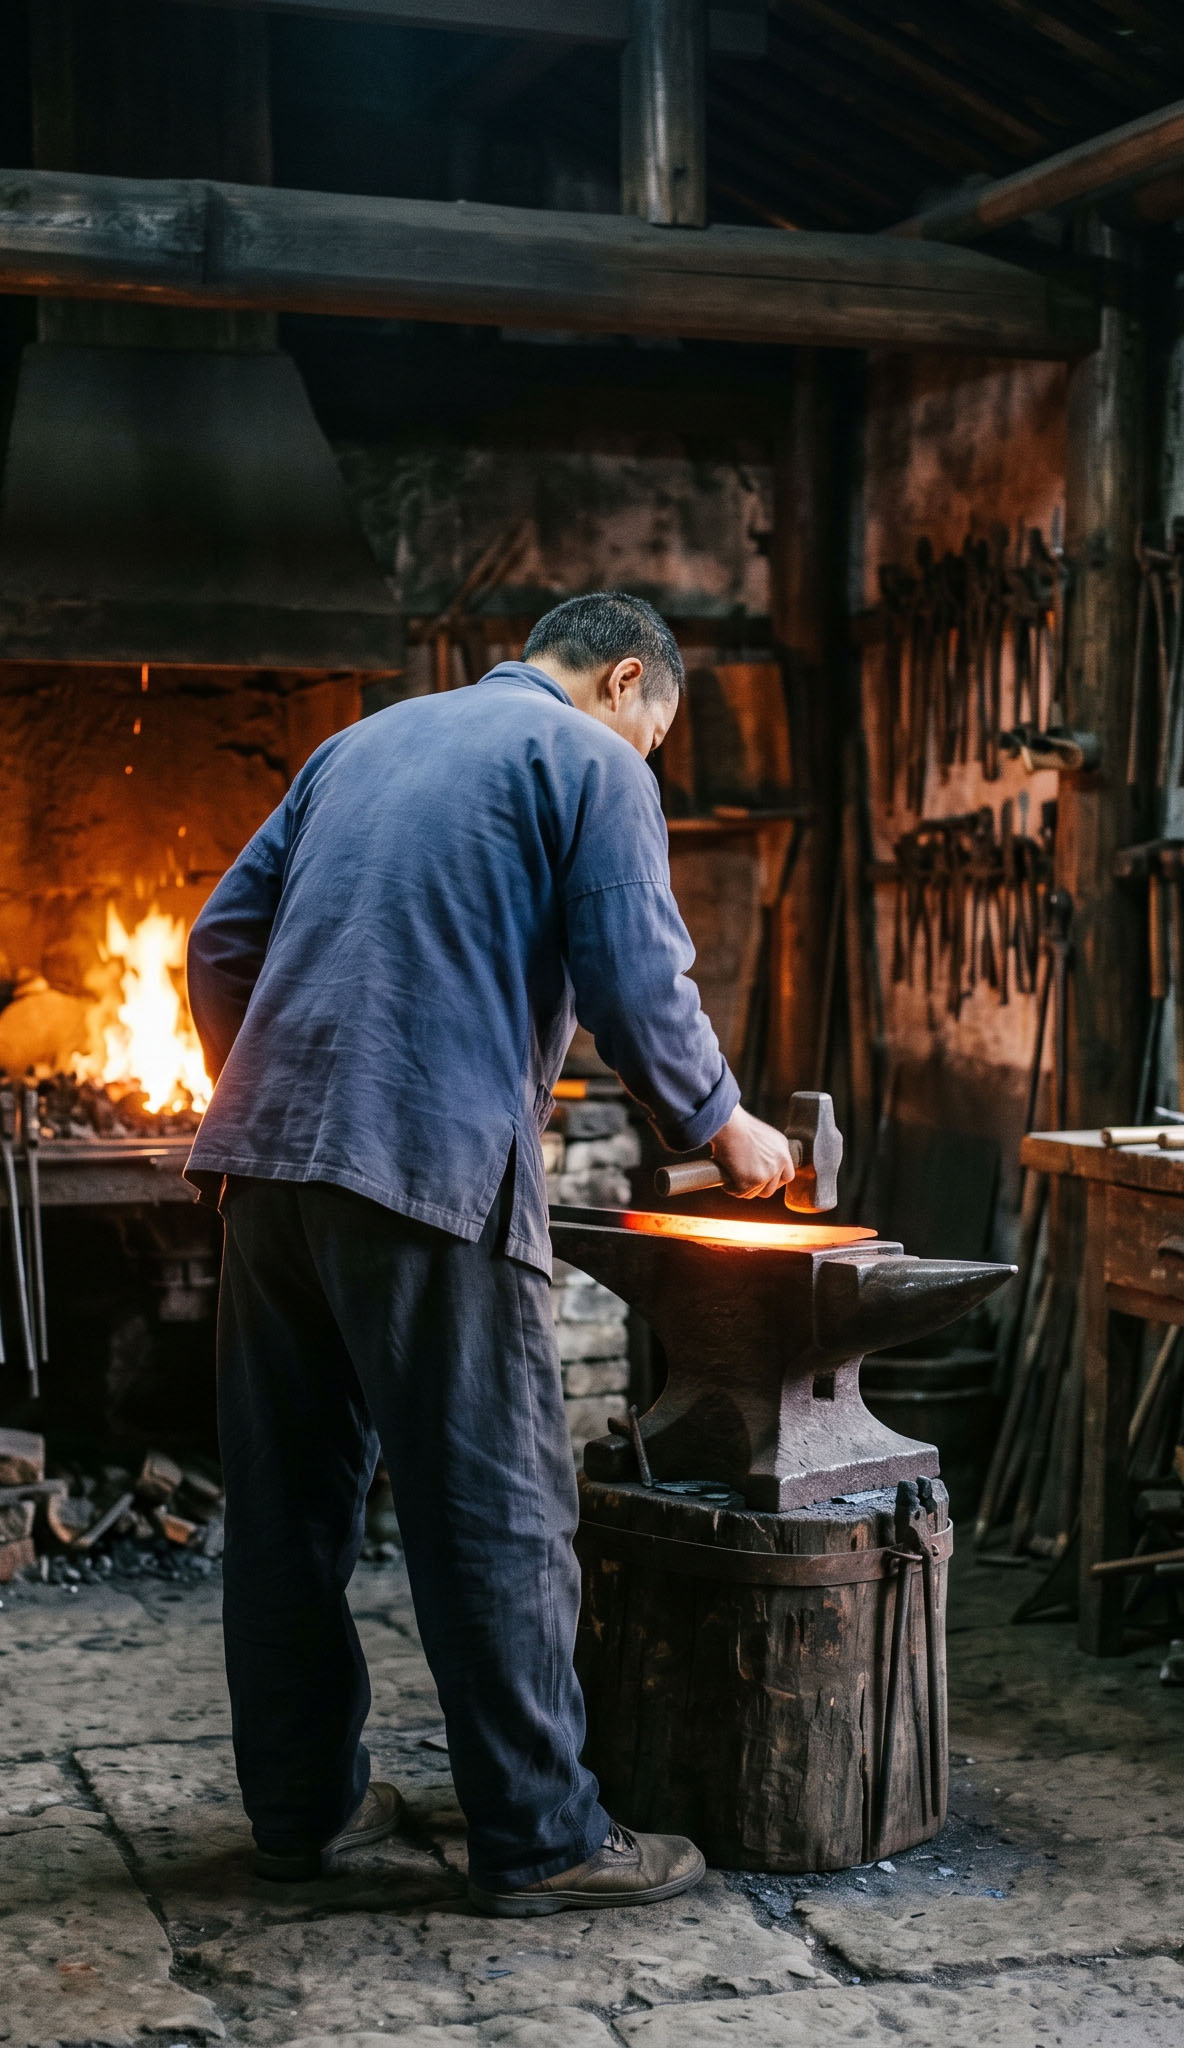


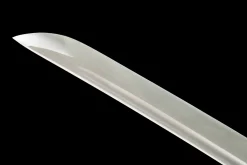


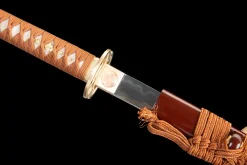

That wavy line running along the edge of a katana is not decoration. It is a record of what the blade went through – a boundary drawn in steel between two different hardness zones, made permanent by fire and water. Smiths call it the hamon, and every genuine one is unique to the blade it lives on. Most buyers see the hamon and think aesthetic. That is understandable. But if you handle enough blades, you start reading them differently. The hamon tells you exactly how the smith controlled heat, where they applied clay, and how quickly that edge hit the quench. It is a technical document as much as it is a visual feature. This guide covers the full process: the chemistry behind differential hardening, how clay is applied, what the resulting patterns mean, and how to tell a real hamon from one that was etched in with acid. Clay tempering, called tsuchioki in Japanese, is a heat treatment method that creates two distinct hardness zones on a single blade. The edge becomes hard enough to hold a sharp cutting angle. The spine stays tough enough to absorb impact without fracturing. A blade that is uniformly hard all the way through will shatter under lateral stress. One that is uniformly soft will deform and lose its edge. Clay tempering solves both problems at once. The process works by controlling cooling speed during the quench. Clay is applied thickly along the spine and sides of the blade, then left thin or absent near the cutting edge. When the blade goes into the water or oil, the bare edge cools in fractions of a second. The clay-insulated spine cools much more slowly. Two zones, two cooling rates, two different crystal structures – all in one piece of steel. This is not a trick or a shortcut. Done correctly, it is one of the most demanding steps in sword production. Done incorrectly, the blade warps, cracks at the quench line, or develops a hamon that is visually flat and structurally unreliable. To understand what clay tempering actually does, you need to understand what happens to steel at the molecular level during quenching. Steel heated to its critical temperature – typically 780 to 820°C for high-carbon steels like 1065 or T10 – enters a phase called austenite. The carbon atoms dissolve into the iron crystal structure uniformly. When you quench austenite rapidly, the carbon does not have time to escape the crystal structure. It becomes trapped, forming a hard, stressed phase called martensite. That is your cutting edge: HRC 58-62, capable of taking and holding a razor geometry. Quench slowly, and the carbon has time to migrate out, forming pearlite – tougher, more flexible, sitting around HRC 40-45. That is your spine. The line where these two phases meet is the hamon. It is not painted on. It is a phase boundary baked into the steel’s crystalline structure. For a deeper look at how different carbon contents affect this process, our steel comparison guide covers 1065, T10, and Damascus side by side. One detail worth knowing: directly at the hamon boundary, there is often a third zone called the nie and nioi layer – a transition band of martensite particles suspended in a softer matrix. Under good polishing and the right light angle, this zone appears as a mist or scattered glitter along the hamon line. That activity is one of the markers of a genuine, well-executed clay temper. Not every steel responds the same way to differential hardening. At our Longquan workshop, we use 1065 carbon steel, T10 high speed tool steel, and select Damascus billets for clay-tempered work. T10 is particularly suited to this process because its higher carbon content (around 1.0%) and trace tungsten give it strong hardenability without requiring extreme quench speeds. That matters when you are trying to control exactly where the hard zone forms. Lower carbon steels like 1045 can technically be clay tempered, but the resulting hamon is faint and the edge hardness tops out lower. We do not offer clay tempering on 1045 for that reason. The bar stock is heated to approximately 800-900°C until it glows a bright orange-red, then hammered into the blade’s basic profile: tang, body, and tip geometry. Multiple heating cycles are required. Grinding follows – belt grinders establish the shinogi ridgeline and edge bevels, then progressively finer whetstones bring the blade to near-final geometry. The blade must be fully ground before clay application. Any geometry corrections after the quench risk disturbing the hamon line or grinding through it entirely. The clay mixture typically combines refractory clay, ash, and charcoal powder. The exact ratios vary by smith – this is genuinely one of the areas where individual experience shows. The mixture is worked to a consistency thick enough to hold its shape on vertical steel but thin enough to apply evenly with a spatula or fingertip. Application begins at the spine. A thick layer goes over the back third to half of the blade. A thinner coat transitions toward the edge, and the final few millimeters of the cutting edge are left bare or with only the thinnest residual coating. The shape of this thin-coat zone determines the final hamon pattern: straight application produces a suguha line, curved or undulating application produces notare or gunome patterns. The coated blade then dries slowly. Rushing this step with direct heat causes the clay to crack and fall off during the quench – and that destroys the differential cooling effect completely. The blade is reheated evenly to critical temperature and quenched edge-down into water or oil. Water quenches are faster and produce a more dramatic hamon with stronger activity, but the thermal shock is severe. Oil quenches are more forgiving and reduce the risk of cracking. T10 steel is commonly water-quenched for maximum hardness contrast. The entire quench sequence takes roughly two to three seconds – everything that defines the blade’s hardness profile is decided in that window. Immediately after quenching, the blade is reheated to 150-200°C to relieve some of the brittleness introduced by martensite formation. This tempering step is not optional. A blade left in the as-quenched state is genuinely fragile – a firm lateral strike could snap it. After tempering, polishing begins with coarse stones and works down to fine finishing stones. Polishing is what makes the hamon visible. Without proper polish, even an excellent hamon sits invisible beneath a gray surface. The pattern of a hamon is named and classified in traditional Japanese terminology. Learning to read these patterns tells you something real about how the blade was made. Suguha is a straight hamon running parallel to the edge. It indicates an even clay application with minimal variation in thickness across the length of the blade. Technically demanding to execute cleanly – any wobble in the clay line shows up directly in the steel. Notare is a gently undulating pattern, like low waves. The clay was applied in a flowing curve rather than a straight line. Most beginner smiths produce notare or near-notare naturally because the hand moves slightly as it works down the blade. Gunome consists of repeated semicircular peaks pointing toward the edge. This requires deliberate, controlled clay application – each peak is shaped individually. A clean gunome with consistent peak spacing is a mark of experienced handwork. Choji resembles clove flowers or irregular lobes. It is one of the more complex patterns to produce consistently and is associated with traditional Ichimonji school work. Modern reproductions of choji hamon are possible but rare in production-level blades. Within any pattern, look for nie – visible granular martensite particles that appear as bright points along the hamon line – and nioi – a softer, misty band of finer particles. Both appear only in genuinely clay-tempered blades and only when the polishing has been done to a sufficient standard. If you are browsing our katana collection, the product photos for clay-tempered blades are shot in angled light specifically to show this activity. This matters more than most buyers realize. A significant portion of katanas sold online with visible hamon lines have never been near a clay pot. The “hamon” was applied after polishing using acid etching – ferric chloride or similar chemicals that oxidize the steel surface selectively to produce a visible line. An acid-etched hamon has no structural meaning. The steel hardness is uniform throughout the blade. You are looking at a surface discoloration, not a phase boundary. The blade will cut, but it will not perform the way a differentially hardened blade does under real use conditions. Here is how to distinguish them. A genuine hamon, when viewed under direct angled light, shows depth. The nie and nioi zones have a three-dimensional quality – the activity appears to sit inside the steel, not on its surface. Rotate the blade slowly and the pattern shifts as the light angle changes. An acid-etched line looks flat. It sits on the surface and behaves like a painted mark under changing light. A second test: genuine clay-tempered blades have a soft, matte spine that contrasts with the polished edge zone. The transition between these surface textures is gradual and corresponds exactly to the hamon line. On acid-etched blades, the surface finish is often uniform across the blade, with the hamon line appearing as a separate graphic element. Third, and most reliable for buyers who can physically handle the blade: a clay-tempered edge sounds different when tapped lightly with a fingernail or wooden dowel compared to the spine. The hardness difference is audible as a slight pitch change. Uniform-hardness blades produce a consistent tone across the full width. This is not a test for shipping boxes, but if you visit our workshop or buy in person, it is a real diagnostic. Our buying guide covers additional verification steps, including what to ask sellers and how to interpret product specifications before purchasing. The price difference between a clay-tempered blade and a through-hardened production blade is not arbitrary. It reflects real time, real skill, and a real rejection rate. Clay application alone adds thirty to sixty minutes of careful handwork per blade. The drying period adds several hours. Quenching is a single-shot process – there is no correcting a bad quench. Blades that warp severely during quenching cannot always be straightened without affecting the hamon. Blades that crack at the quench line are scrapped. In a production run of clay-tempered swords, a rejection rate of 10-15% is normal and expected. That cost is spread across the surviving blades. Polishing to reveal a genuine hamon properly takes three to five times longer than polishing a through-hardened blade to a mirror finish. The polisher works in stages specifically designed to develop the hamon surface, bringing out nie and nioi without overpolishing the edge zone into the hardness layer. You can find clay-tempered T10 blades starting around $280 with our Silent Thunder. The Ink Meteor at $775 represents the upper end of our differential hardening work – san-mai construction with a multi-layer composite core, where the clay tempering interacts with the layered steel structure to produce a hamon with genuinely complex activity. These are not marketing tiers. They are different manufacturing processes with different time investments and different results. If you are also considering Damascus construction, our Damascus steel category includes blades where the pattern-welded layers interact with the clay tempering process to produce hada and hamon simultaneously. That is a separate technical topic – see our steel comparison guide for the full breakdown. Caring for a clay-tempered blade also requires specific maintenance habits, which our sword care guide covers in practical detail. The hamon is not a selling feature. It is proof of a process. When you buy a clay-tempered blade from Longquan, you are buying the three seconds of the quench and everything the smith did in the hours before it to control what would happen in those three seconds.
What Is Clay Tempering?
The Science of Differential Hardening
Step-by-Step: The Clay Tempering Process
Steel Selection
Forging and Grinding
Clay Mixture and Application
Quenching
Tempering and Polishing
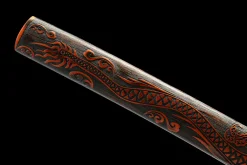
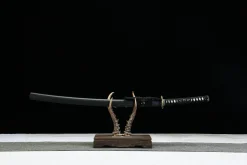
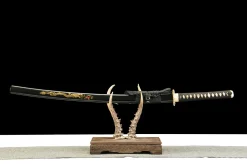
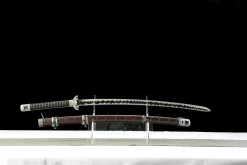
Reading Hamon Patterns
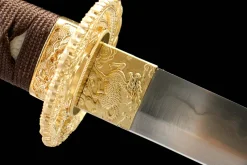
Real Hamon vs. Acid-Etched Fakes
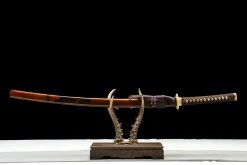
Why Clay-Tempered Swords Cost More

Frequently Asked Questions
1095 High Carbon — Browse the Collection.